


How to Make Silk Scrunchies: A Step-by-Step Guide to Luxurious Hair Accessories
Silk scrunchies are more than just trendy—they're a stylish, gentle way to keep your hair looking fabulous. These luxurious hair ties are prized for their ability to reduce breakage, prevent creases, and add a touch of elegance to your everyday hairstyles. While they’re readily available in stores, making your own silk scrunchies is a fun, creative project that lets you customize them to your style.
Here’s how you can make your own silk scrunchies at home, even if you’re a beginner at sewing!
Why Choose Silk Scrunchies?
Before diving into the process, let’s look at why silk scrunchies are worth the effort:
- Hair-Friendly: Silk’s smooth surface reduces friction, preventing breakage and frizz.
- Crease-Free Hold: Perfect for keeping your hair tied without leaving marks.
- Durable & Stylish: Handmade silk scrunchies are both functional and fashionable.
What You’ll Need to Make Silk Scrunchies
Gather these materials before starting:
- Silk Fabric: A small piece of silk fabric (approximately 18 inches by 4 inches for one scrunchie).
- Elastic Band: About 8–10 inches of elastic (¼-inch wide works best).
- Thread: Matching thread for a seamless finish.
- Needle or Sewing Machine: Choose your preferred sewing method.
- Pins or Clips: To hold the fabric in place.
- Scissors: For cutting fabric and elastic.
- Safety Pin: To thread the elastic through the fabric tube.
Step-by-Step Guide to Making Silk Scrunchies
1. Cut Your Silk Fabric
- Cut a piece of silk fabric into a rectangle about 18 inches long and 4 inches wide.
- Adjust the dimensions depending on how full or slim you want your scrunchie to be.
2. Fold and Pin
- Fold the fabric in half lengthwise with the shiny side facing in.
- Pin or clip the edges together to keep the fabric in place.
3. Sew the Fabric
- Sew along the long edge of the fabric with a ¼-inch seam allowance, creating a fabric tube.
- Turn the tube inside out so the shiny side of the silk faces outward.
4. Insert the Elastic
- Attach a safety pin to one end of the elastic band.
- Use the safety pin to guide the elastic through the fabric tube, scrunching the fabric as you go.
- Once the elastic is fully threaded, overlap the ends of the elastic by about 1 inch and sew them together securely.
5. Close the Scrunchie
- Tuck the raw edges of the fabric tube into one another.
- Sew the opening closed with a needle and thread, using small, neat stitches.
Tips for Success
- Choose Quality Silk: Mulberry silk or charmeuse silk works best for smooth, luxurious scrunchies.
- Experiment with Sizes: Make scrunchies in different widths for variety—slim for subtlety, wide for bold statements.
- Recycle Fabric: Use scraps of silk from old scarves or clothing to upcycle and save costs.
Why Handmade Silk Scrunchies Are Special
Handmade scrunchies aren’t just hair accessories—they’re a reflection of your creativity and personal style. Whether you gift them to friends or keep them for yourself, these DIY silk scrunchies add a custom touch to any haircare routine.
Care Tips for Your Silk Scrunchies
To keep your scrunchies looking and feeling their best:
- Wash Gently: Hand wash with mild detergent and cold water.
- Air Dry: Lay flat to dry to maintain the fabric’s integrity.
- Avoid Heat: Keep away from direct heat or high temperatures.
Elevate Your Hair Game with Silkie
Not in the mood to DIY? At Silkie, we offer premium silk scrunchies crafted with the finest silk to pamper your hair. Explore our collection at www.shopsilkie.com and enjoy the beauty and benefits of high-quality silk scrunchies without the effort.
Final Thoughts
Making your own silk scrunchies is a rewarding project that combines creativity with practicality. With just a few materials and a little time, you can create beautiful, gentle hair accessories that elevate your haircare routine.
Ready to try it out? Gather your supplies, follow these steps, and enjoy the magic of handmade silk scrunchies!
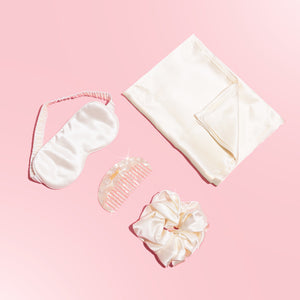
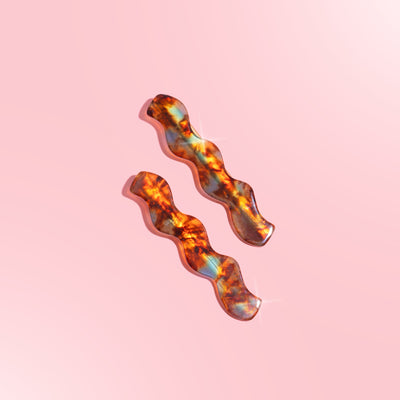
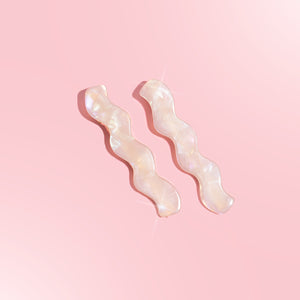
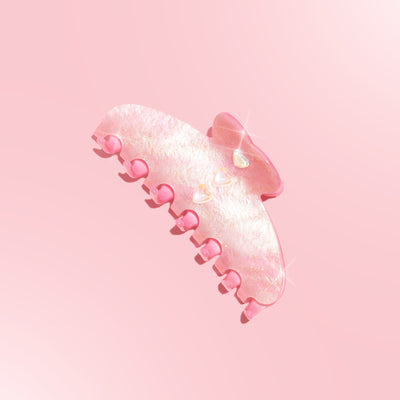
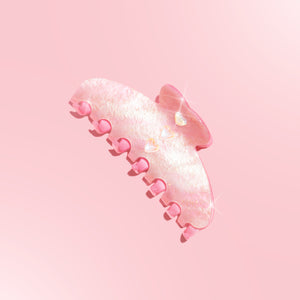
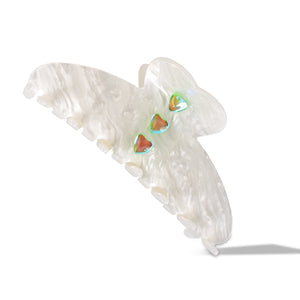
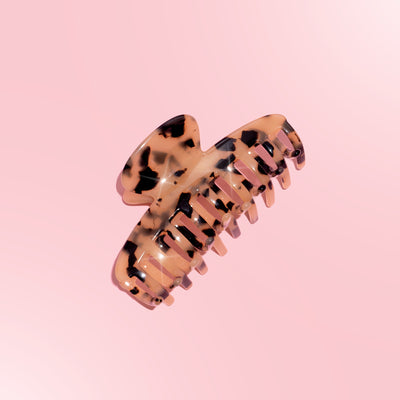
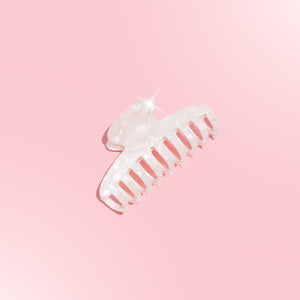
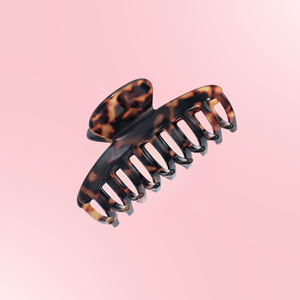
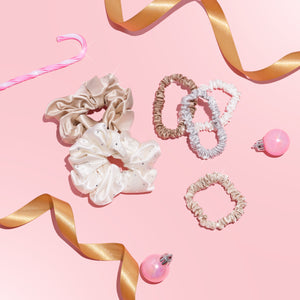
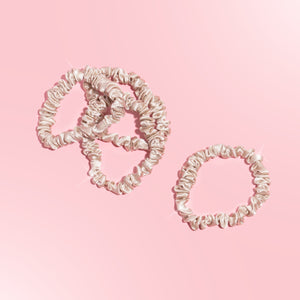
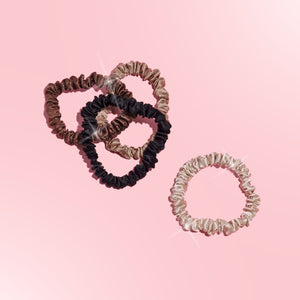
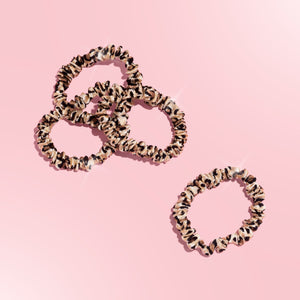
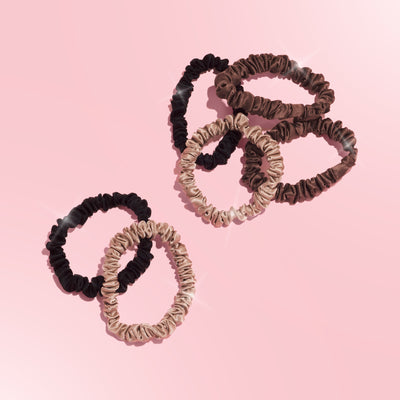
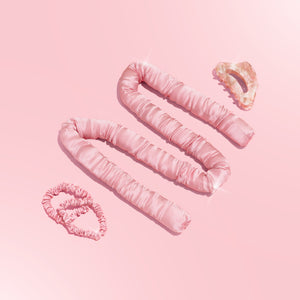
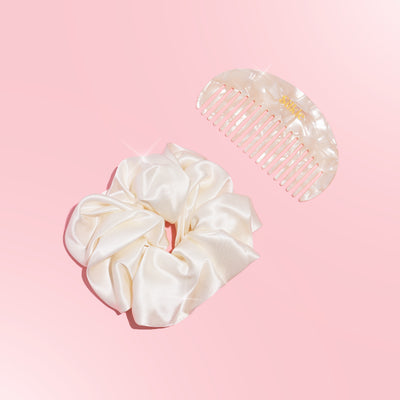
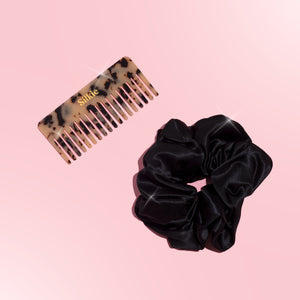
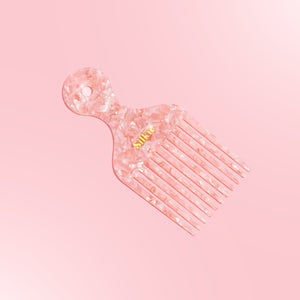
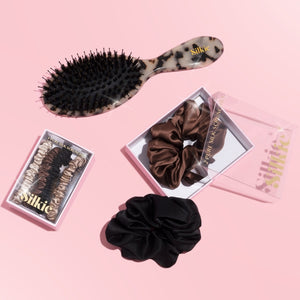
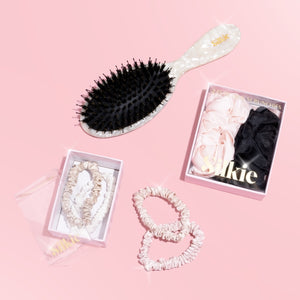
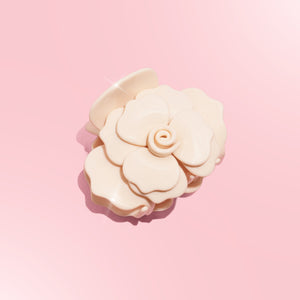
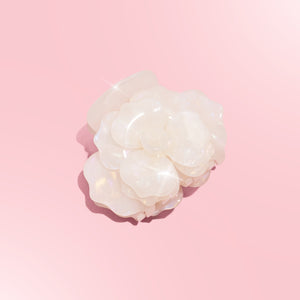
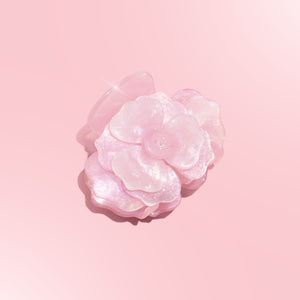
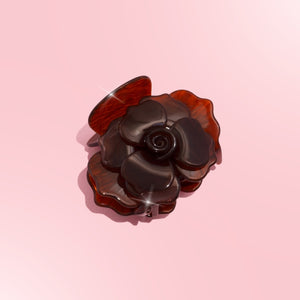
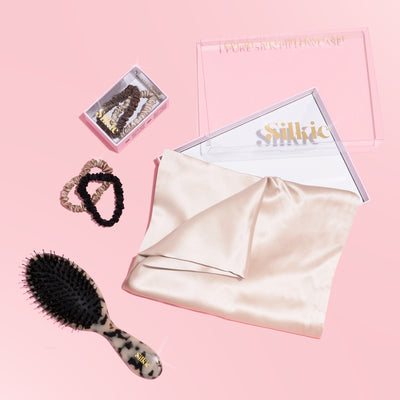
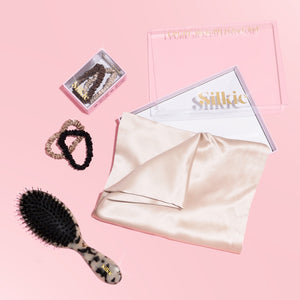
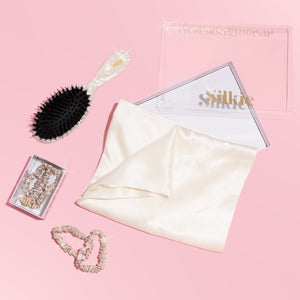
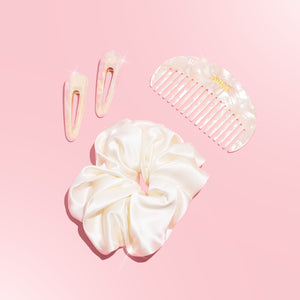
SHOP OUR SILKIE SCRUNCHIE
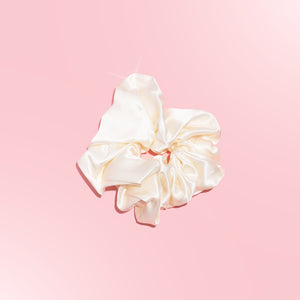
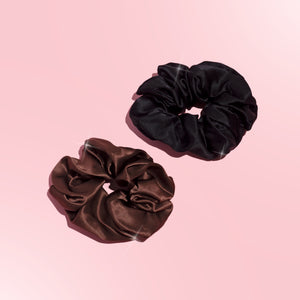
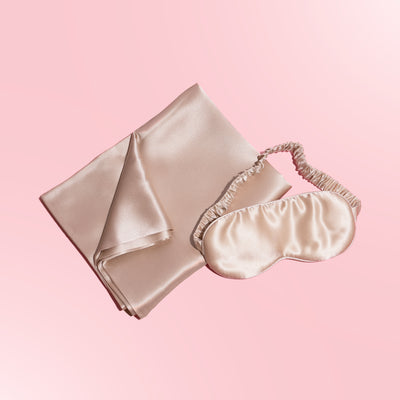
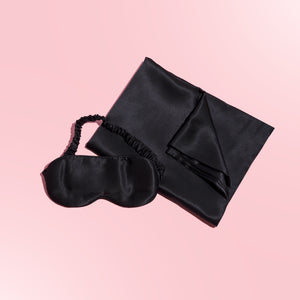
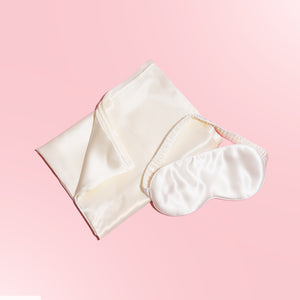
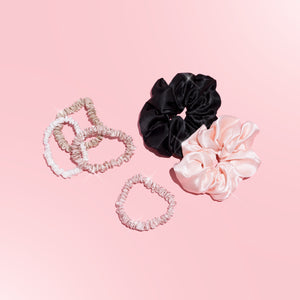
Silkie Silk Cloud – Deluxe 100% Mulberry Silk
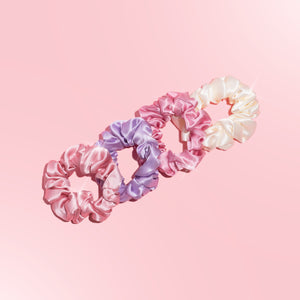
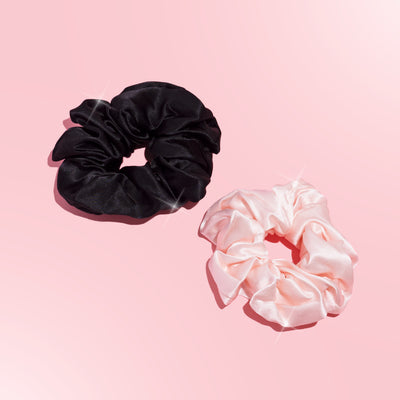
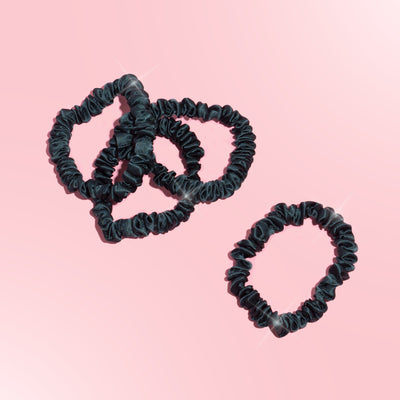
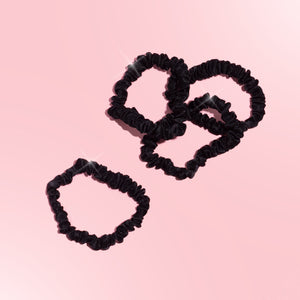
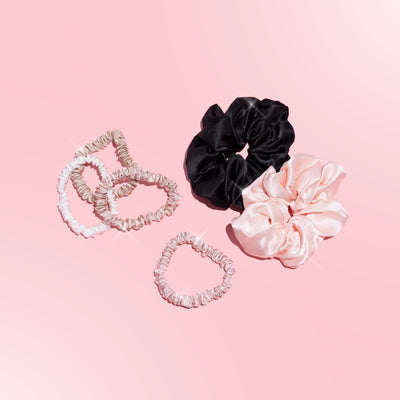
Silkie Mini Silks – 100% Mulberry Silk Scrunchies
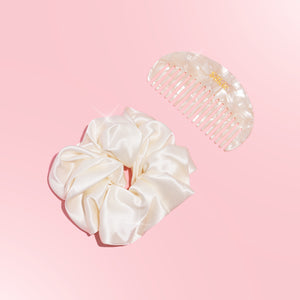
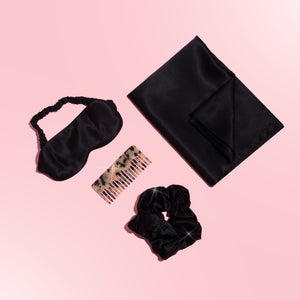
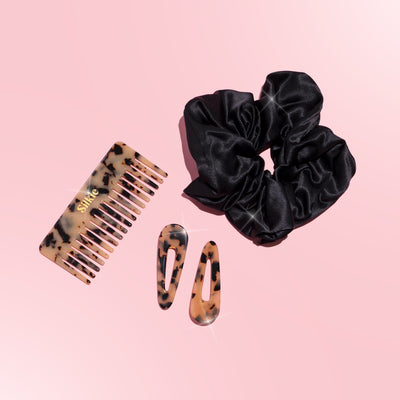
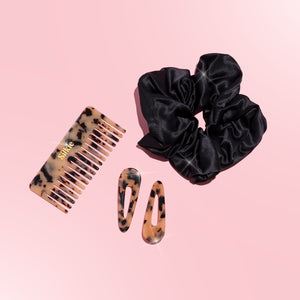
Silkie Styling Duo – Acetate Comb & Deluxe Scrunchie

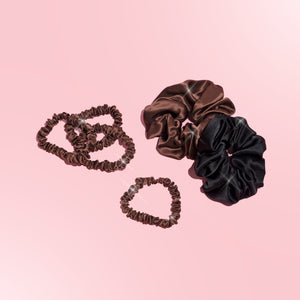
Silkie Silk Grande – Pure Mulberry Silk Scrunchies

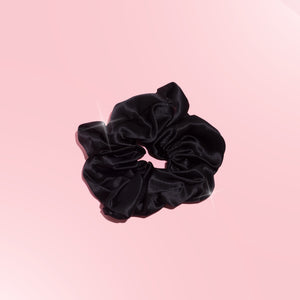
Individual Silkie scrunchie (Colour and size may vary)
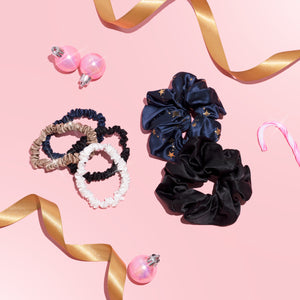
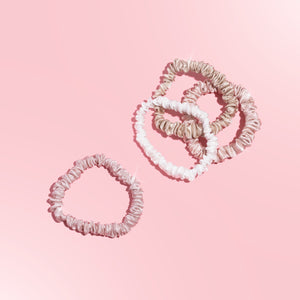
Silkie Mulberry Silk Christmas Scrunchies Set

Silkie Skinny Silks – 100% Mulberry Silk Scrunchies