


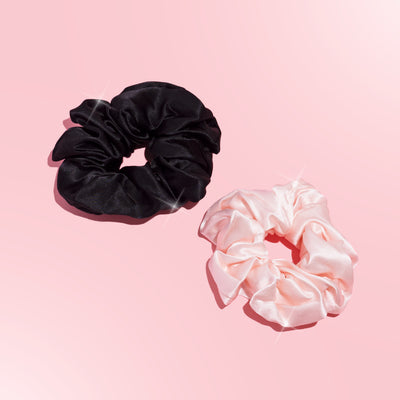


DIY Silk Scrunchies: Make Your Own Luxurious Hair Accessories at Home
Silk scrunchies are a luxurious and gentle accessory for your hair, known for reducing friction, preventing breakage, and looking downright chic. But why buy them when you can make them yourself? Creating silk scrunchies at home is surprisingly simple and allows you to customize them to your style.
In this guide, we’ll walk you through the materials you’ll need, the steps to follow, and some handy tips to ensure your homemade scrunchies turn out perfectly.
Why Make Silk Scrunchies at Home?
- Customization: Choose your favorite colors and patterns to match your wardrobe.
- Cost-Effective: Save money by making multiple scrunchies with minimal fabric.
- Sustainability: Use leftover silk fabric or upcycle old silk items for an eco-friendly approach.
What You’ll Need
To make your silk scrunchies, gather these supplies:
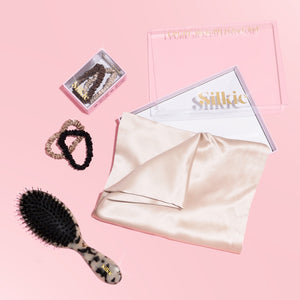
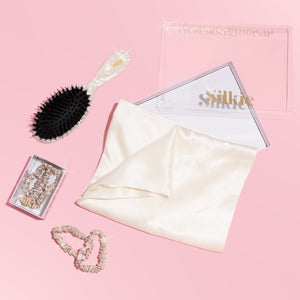
- Silk Fabric: A lightweight silk works best; around 4 inches wide and 18 inches long per scrunchie.
- Elastic Band: 6-8 inches of elastic, depending on the size you prefer.
- Thread: Matching or contrasting thread for sewing.
- Sewing Needle or Machine: Either works; a machine is quicker but hand-sewing is just as effective.
- Safety Pin: To help thread the elastic through the fabric.
- Scissors: For cutting the fabric and elastic.
- Measuring Tape: To ensure accurate measurements.
Step-by-Step Instructions
Step 1: Cut Your Fabric and Elastic
- Cut your silk fabric into a rectangle approximately 4 inches wide and 18 inches long. Adjust the length for a tighter or looser scrunchie.
- Cut your elastic to 6-8 inches, depending on your desired snugness.
Step 2: Fold and Sew the Fabric
- Fold the fabric in half lengthwise with the shiny side facing inward.
- Sew along the long edge, leaving about a 1/4-inch seam allowance. You’ll create a tube.
Step 3: Turn the Fabric Right-Side Out
- Use a safety pin or a blunt object like a chopstick to turn the fabric tube right-side out.
Step 4: Insert the Elastic
- Attach one end of the elastic to a safety pin and thread it through the fabric tube.
- Once the elastic is fully threaded, overlap the ends and sew them securely together.
Step 5: Close the Scrunchie
- Tuck the raw edges of the fabric tube inward at the open end.
- Sew the ends together using a hidden stitch or a simple topstitch.
Tips for Perfect Silk Scrunchies
- Use a Serger: If you have one, a serger can create cleaner seams and prevent fraying.
- Prewash the Silk: Washing the fabric beforehand ensures it won’t shrink later.
- Experiment with Sizes: Try different fabric widths and elastic lengths for varied scrunchie sizes.
- Add Embellishments: Attach beads, pearls, or decorative stitching for a unique touch.
Why Silk Scrunchies?
Silk scrunchies are more than a pretty accessory—they’re a healthy choice for your hair. They:
- Reduce breakage and split ends.
- Minimize frizz and tangling.
- Look elegant while being gentle on hair.
Show Off Your DIY Skills
Now that you know how to make silk scrunchies, why not turn it into a fun project with friends or even a small business? Homemade silk scrunchies make thoughtful gifts or additions to your accessory collection.
For more tips on haircare and accessories, visit www.shopsilkie.com.
Final Thoughts
Making silk scrunchies at home is a simple yet rewarding craft that combines style and practicality. With just a few materials and some creativity, you can create beautiful, functional hair accessories tailored to your taste.
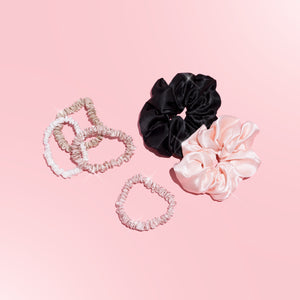
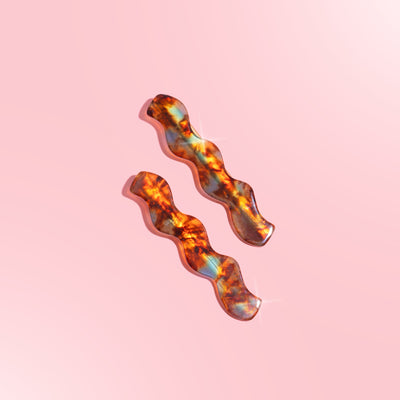
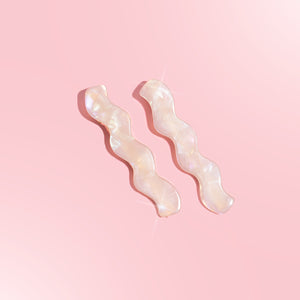
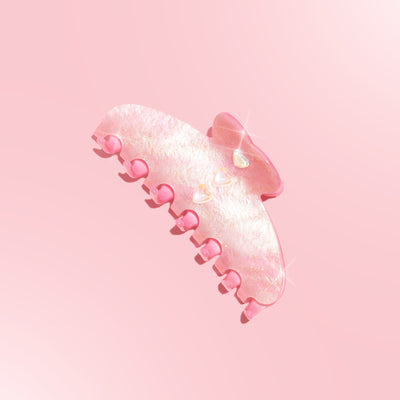
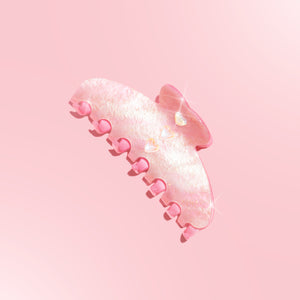
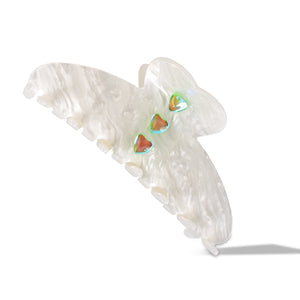
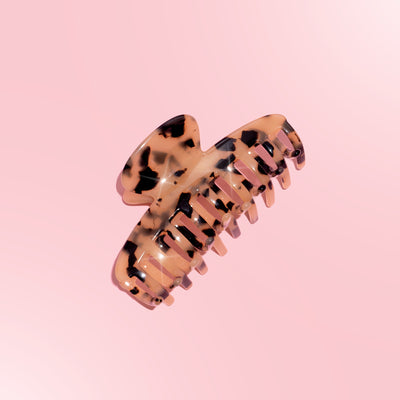
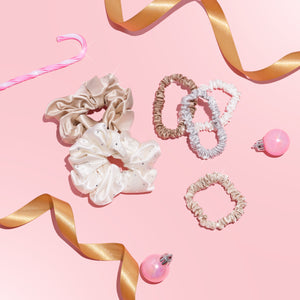
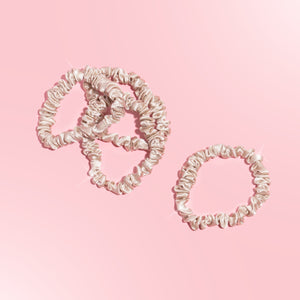
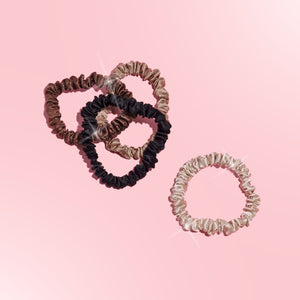
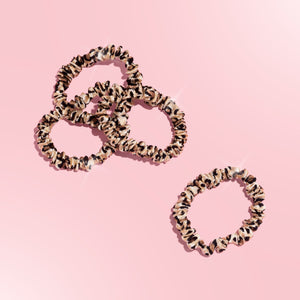
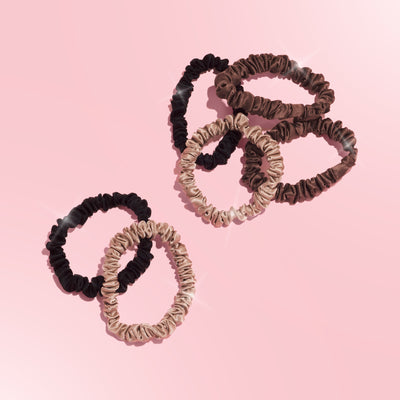
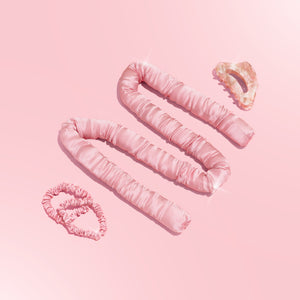
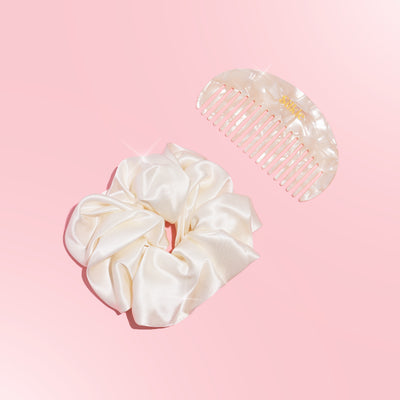
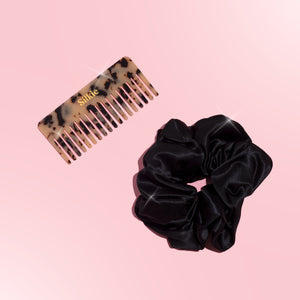
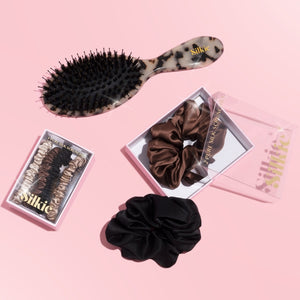
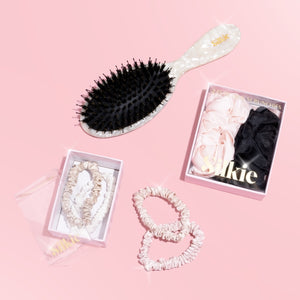
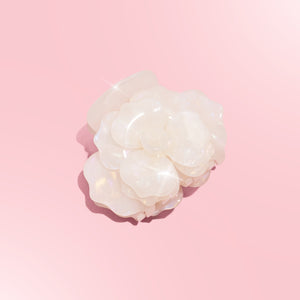
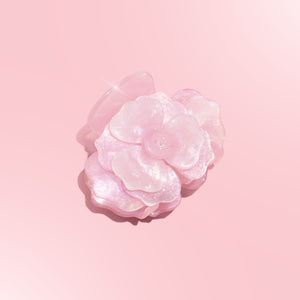
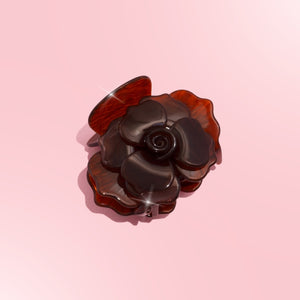
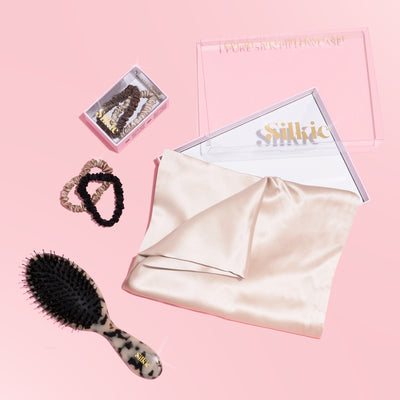
SHOP OUR SILKIE SCRUNCHIE
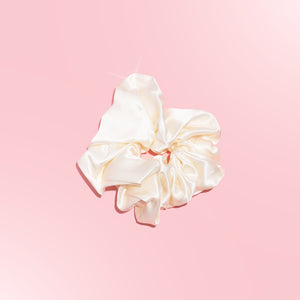
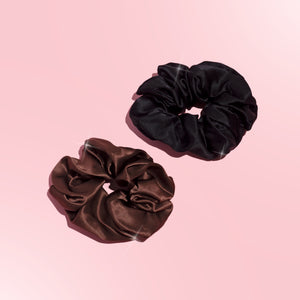
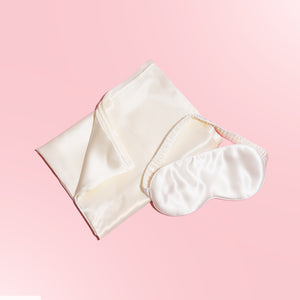
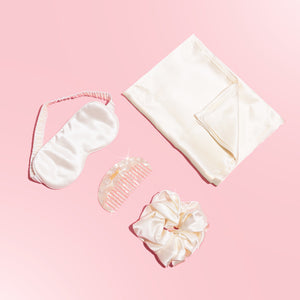
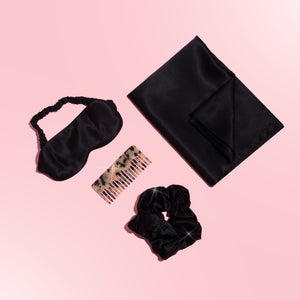
Silkie Silk Cloud – Deluxe 100% Mulberry Silk
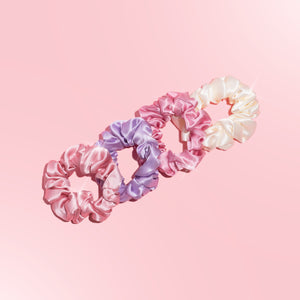
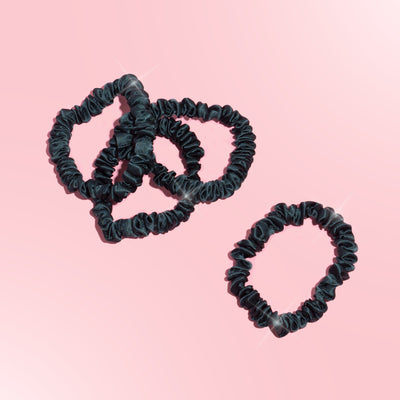
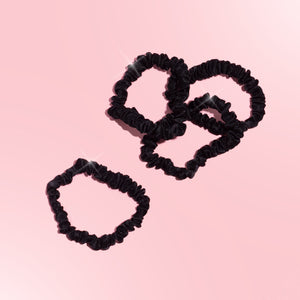
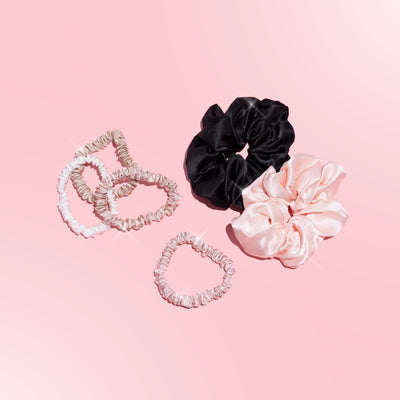
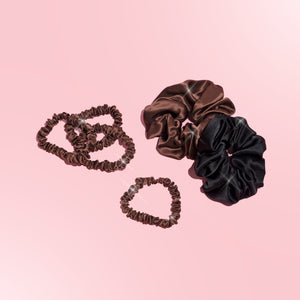
Silkie Mini Silks – 100% Mulberry Silk Scrunchies

Silkie Silk Grande – Pure Mulberry Silk Scrunchies
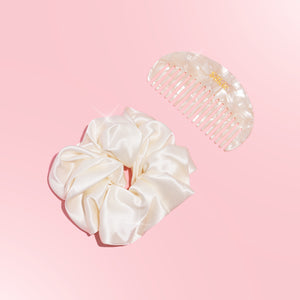
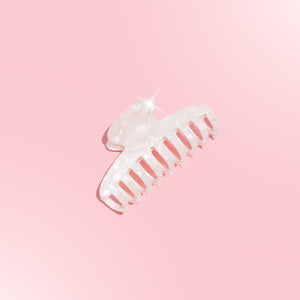
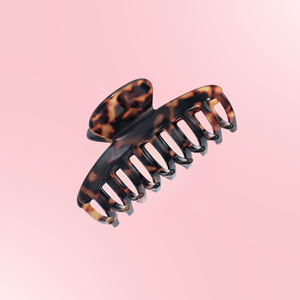
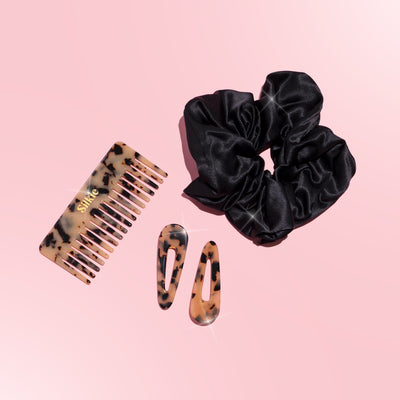
Silkie Styling Duo – Acetate Comb & Deluxe Scrunchie

Individual Silkie scrunchie (Colour and size may vary)
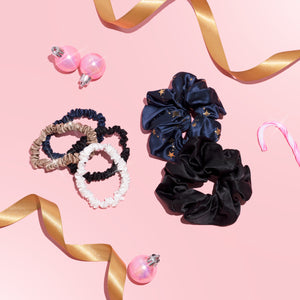
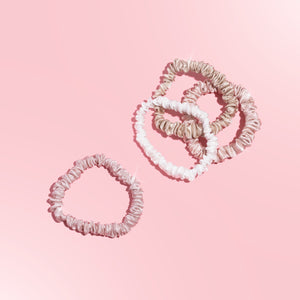
Silkie Mulberry Silk Christmas Scrunchies Set

Silkie Skinny Silks – 100% Mulberry Silk Scrunchies
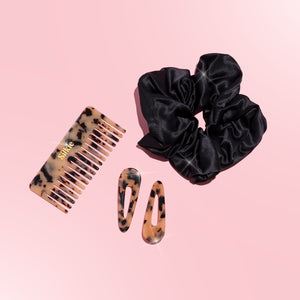
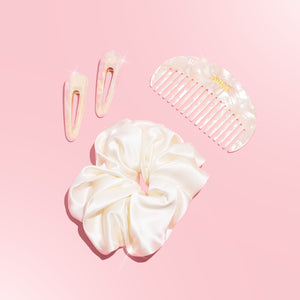
The Silkie Styling Set