


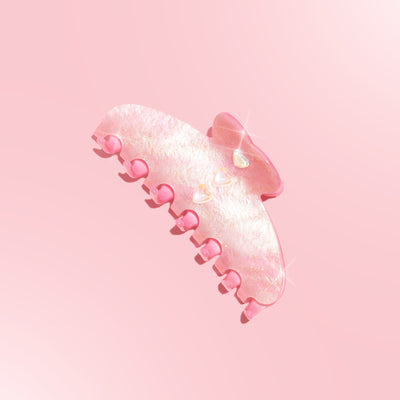


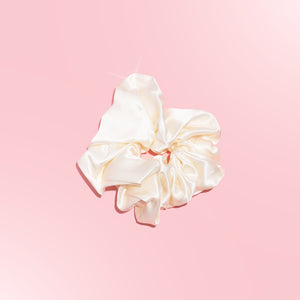
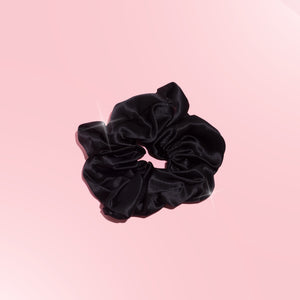


How to Sew Silk Scrunchies: A Simple DIY Guide
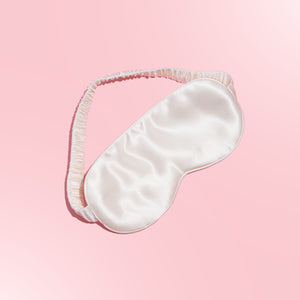
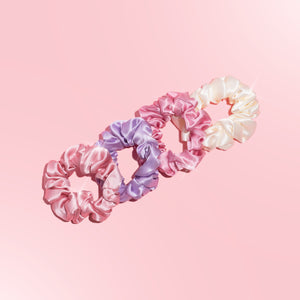
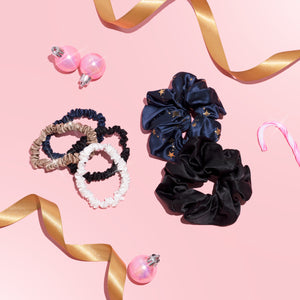
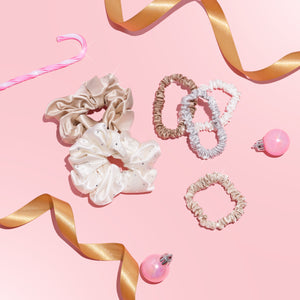
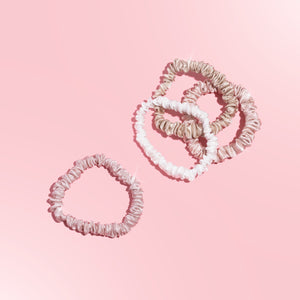
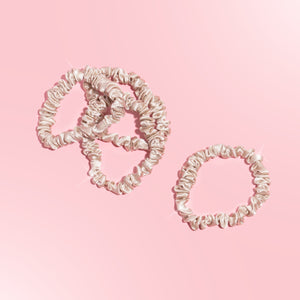
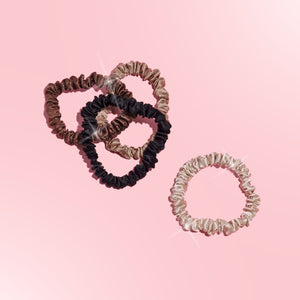
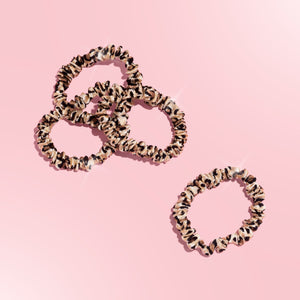
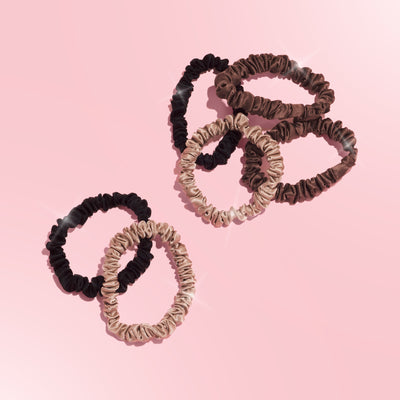
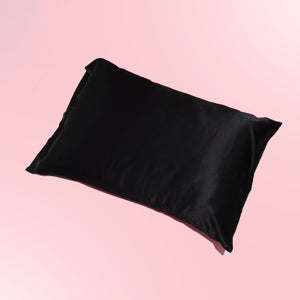
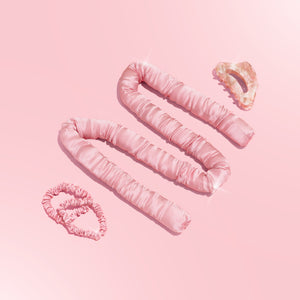
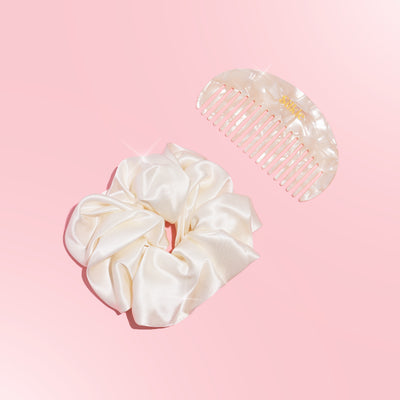
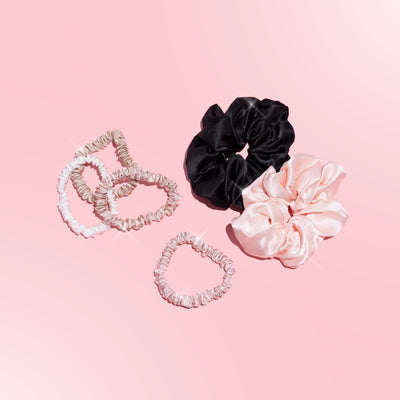
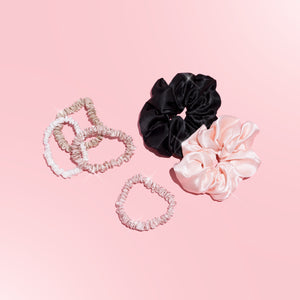
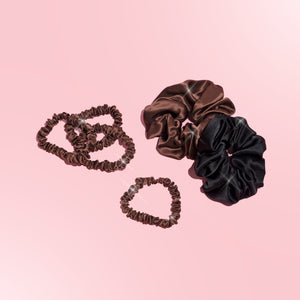
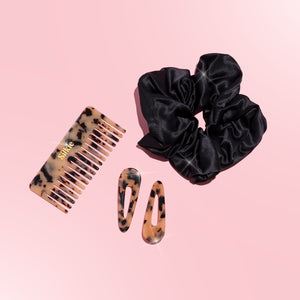
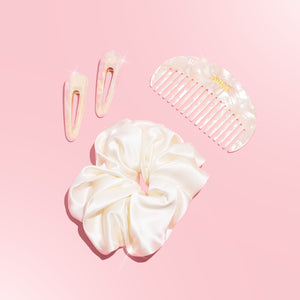
Silk scrunchies are not just chic accessories—they’re also gentle on your hair, reducing breakage and preventing tangles. If you’re looking for a fun, creative project, why not sew your own? Handmade silk scrunchies let you customize colors, sizes, and designs to match your style perfectly.
In this blog, we’ll guide you through the steps to create your very own silk scrunchies.
Materials You’ll Need
Before you start, gather these essentials:
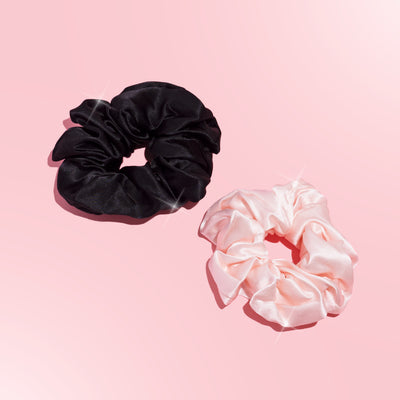
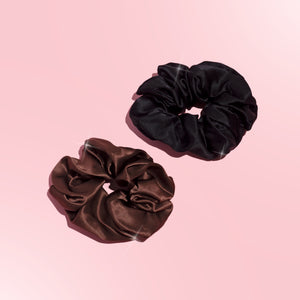
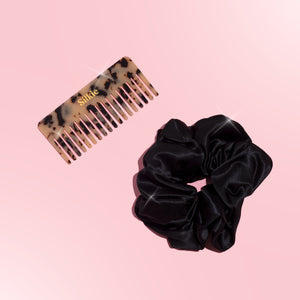
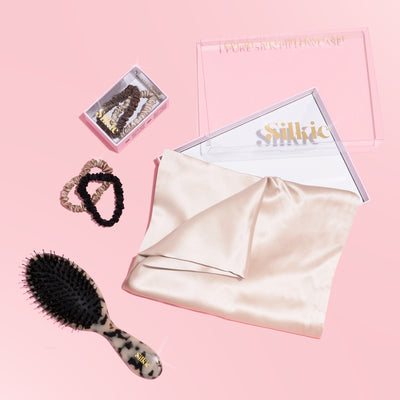
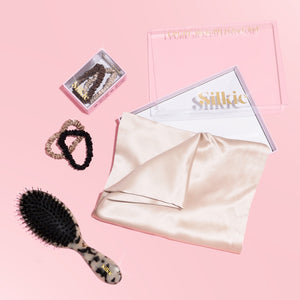
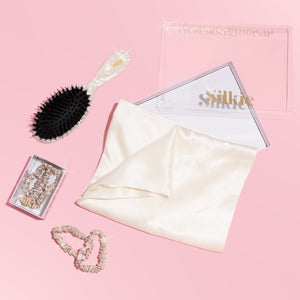
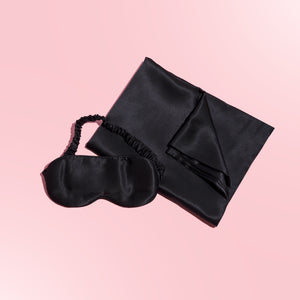
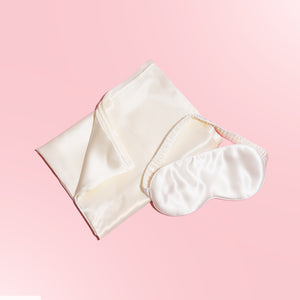
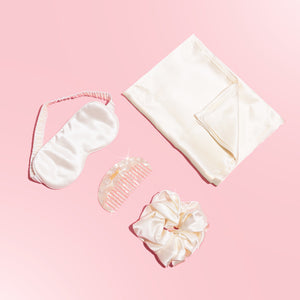
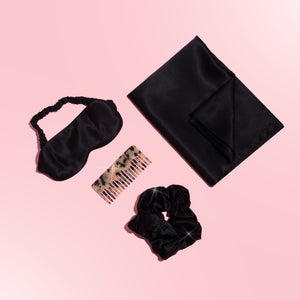
- Silk Fabric: Choose a soft, lightweight silk for the best results.
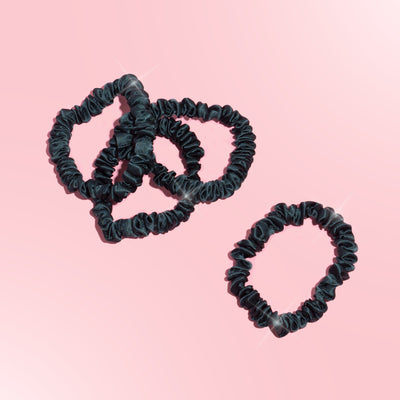
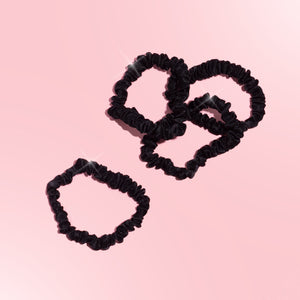
- Elastic Band: About 8–10 inches of elastic, depending on your preferred scrunchie size.
- Sewing Thread: Match the thread color to your silk fabric.
- Needle or Sewing Machine: Either option works, depending on your sewing skills.
- Safety Pin: Helps thread the elastic through the fabric tube.
- Scissors: For cutting fabric and elastic.
- Measuring Tape: Ensures accuracy in cutting and assembling.
Step-by-Step Instructions
Step 1: Cut the Silk Fabric
Cut a rectangle of silk fabric measuring approximately 18 inches long and 4 inches wide. Adjust the dimensions based on the size of the scrunchie you want to make.
Step 2: Fold and Sew
- Fold the fabric in half lengthwise, with the shiny side facing inward.
- Sew along the long edge to create a tube, leaving the short ends open. You can use a sewing machine or sew by hand.
Step 3: Turn the Tube Inside Out
Use a safety pin to help turn the fabric tube inside out, so the shiny side of the silk is now visible.
Step 4: Insert the Elastic
- Attach a safety pin to one end of the elastic.
- Thread the elastic through the fabric tube, holding the other end to prevent it from slipping inside.
- Once the elastic is fully threaded, tie or sew the ends together securely.
Step 5: Close the Scrunchie
- Fold the raw edges of the fabric tube inward at one end.
- Insert the other end of the tube into the folded edge.
- Sew the ends together neatly, ensuring the stitches are secure and hidden.
Pro Tips for Sewing Silk Scrunchies
- Use Pins Sparingly: Silk is delicate, so minimize pinning to avoid leaving marks.
- Opt for a Small Stitch Length: This prevents fabric fraying and creates a polished look.
- Prewash Silk: Washing the fabric before sewing ensures the scrunchie will maintain its shape.
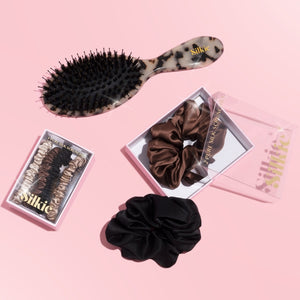
Why Make Your Own Silk Scrunchies?
Creating your own silk scrunchies allows you to:
- Save money compared to store-bought options.
- Customize designs and sizes to suit your hair type.
- Add a personal, handmade touch to your accessories.
Ready to craft your perfect silk scrunchie? Get started with this simple DIY and enjoy a stylish, hair-friendly accessory made by you!
For more hair care tips and accessories, explore Silkie. Because every strand deserves a little luxury!
